Friday, November 29, 2013
PDF Version
I've made the Easy Christmas Bauble pattern into a PDF document. Here's a link or there's one on the side bar. I'm hoping to sell a few baubles today at a Christmas market.
Tiny Bows

Wednesday, November 27, 2013
Quick quick

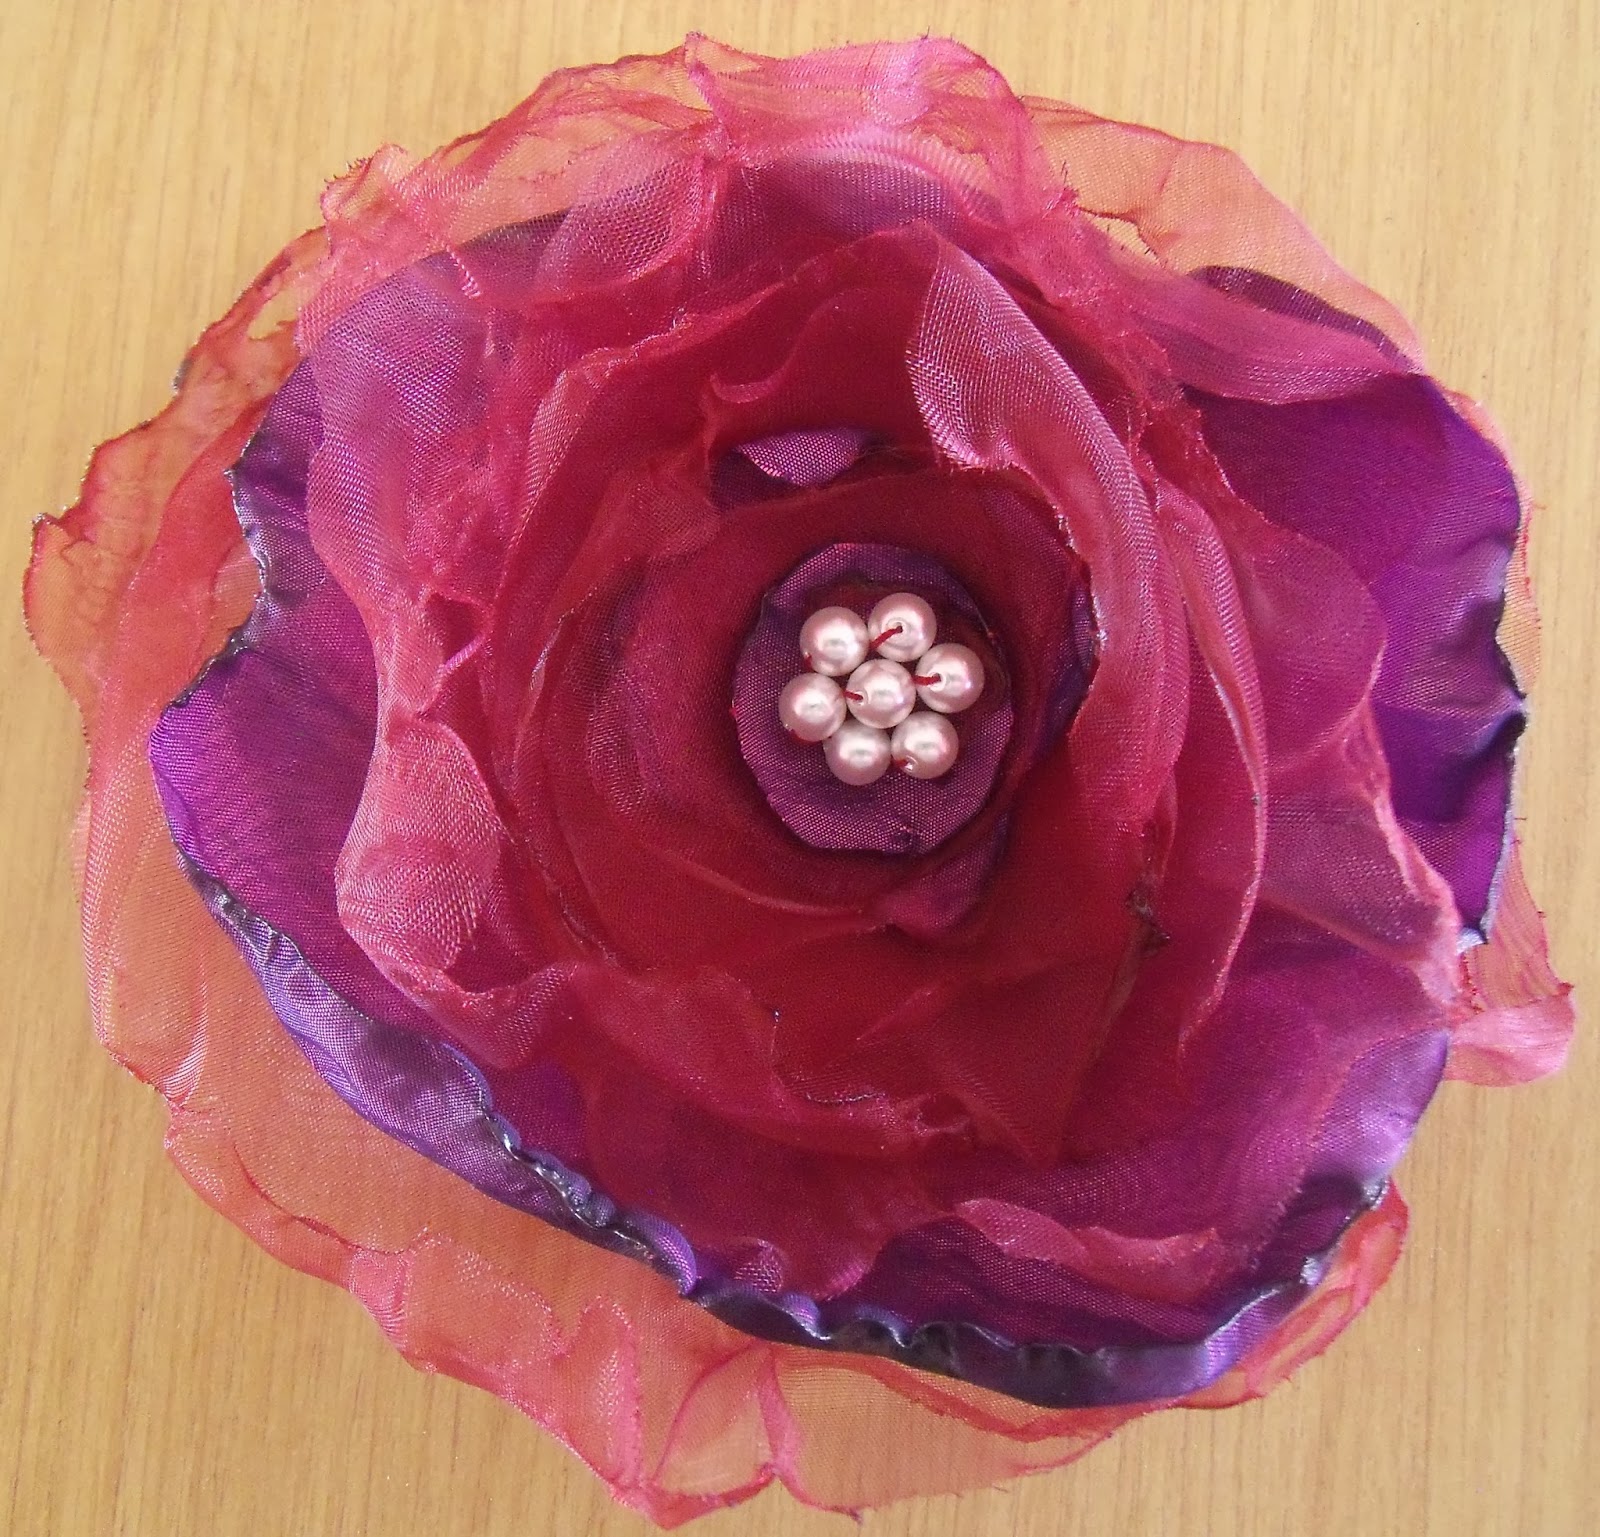
A Flower
Monday, November 25, 2013
The Pattern
I've written this pattern down so that next Christmas I will still know what to do.

Easy Christmas Bauble
Materials
Bauble with an ‘equator’ of approx 18 cm, size 20 thread,
2 shuttles
Abbreviations
CTM continuous thread method; R ring; SR split ring; Ch
chain; - picot; cl close RW reverse work; + join; BTS bare thread space
First half
Wind 2 shuttles CTM
1st round: R
2-2-2-2 Cl, RW;* Ch 2-2, R 2+(previous R)2-2-2, Cl,RW; repeat from * until there are 19 rings and 19
chains, SR 2+(previous ring)2/2+(1st ring)2
2nd round: SR
4/4; using shuttle 1,* BTS of 10 mm (tip: use a folded piece of paper to
measure the BTS), R 4+(R on previous row)4, Cl, repeat from * until round is
complete, + to SR
3rd round: SR
4/4; using shuttle 2, *BTS of 15 mm, R 4+(BTS of previous row)4, Cl, repeat
from * until round is complete, + to SR.
Cut threads and hide ends.
Second half
Make exactly the same as first half.
Completing the bauble
Place the two halves over the bauble and use a piece of
thread on a needle to lace the two halves together, imitating the look of the
BTSpaces. Tie the 2 ends together in a secure knot.
Baubles

Friday, November 22, 2013
Look Ma.....

Another Idea


Thursday, November 21, 2013
Good and Bad

Monday, November 18, 2013

Sunday, November 17, 2013
Idea

Saturday, November 16, 2013
For Princess Penelope

Thursday, November 14, 2013
Earrings

Wednesday, November 13, 2013
Spiral Bracelet

Tuesday, November 12, 2013
In Black and White

Size Does Matter

Monday, November 11, 2013
Daisy Bracelet

This is Jane Eborall's daisy bracelet pattern. My version is not perfect - after numerous false starts I was prepared to let a few mistakes go! At first I felt a bit overwhelmed by the paraphernalia involved - three sizes of bead, safety pins, picot gauge, beading needle, two shuttles, bracelet clasps.... - but it became easier once I grasped the pattern properly. It's never going to be an easy or quick tat, but it does become easier with practice. And of course it helps that Jane's patterns are always so clearly presented.
Friday, November 8, 2013
Bracelet for Me

This is the third bracelet I've made using Paula Gero's pattern 'Roses and Vine Bookmark', which I found on In Tatters. This one is for me. The flowers are tatted in Tat-ilicious keylime raspberry parfait, the vine in Cebelia which I dyed myself.
Thursday, November 7, 2013
Flowers and Vine Bracelet

I was tatting along merrily with Tat-ilicious Little Boy Blue thread when I realised that it really isn't a rose colour. So I've renamed this one, flowers and vine bracelet. This one is for the Christmas market, but I think the next one will be for me.
Roses and Vine Bracelet

I've turned Paula Gero's Roses and Vine bookmark into a bracelet by doing just three repeats and adding fasteners. I added beads to the centres of the flowers too. The bracelet is for an order. The brief was a wide bracelet in black and white that would fit me. I think it works, I hope Nettie will be happy with it. I might do another in other colours for the Christmas market.
Tuesday, November 5, 2013
Towels for Two

Slave Bracelet

The flower is Jon's pattern, called Daisy Pin. The rest I made up as I went along. I've been thinking for a while of making a hand decoration that was much quicker and simpler than mignonette gloves. Originally I was asked to make the gloves for someone who does make up for weddings and wanted to look good in the photos. I think these could work for that purpose. This bracelet is a bit big for me, but I have very small hands, so if I want to put it on a Christmas market table, I had better make it so that it fits other people!
Sunday, November 3, 2013


Saturday, November 2, 2013

Friday, November 1, 2013
Simpler

Subscribe to:
Posts (Atom)