
Tat a ring. This one is 10-10, but actually it would be better to use a ring without picots.


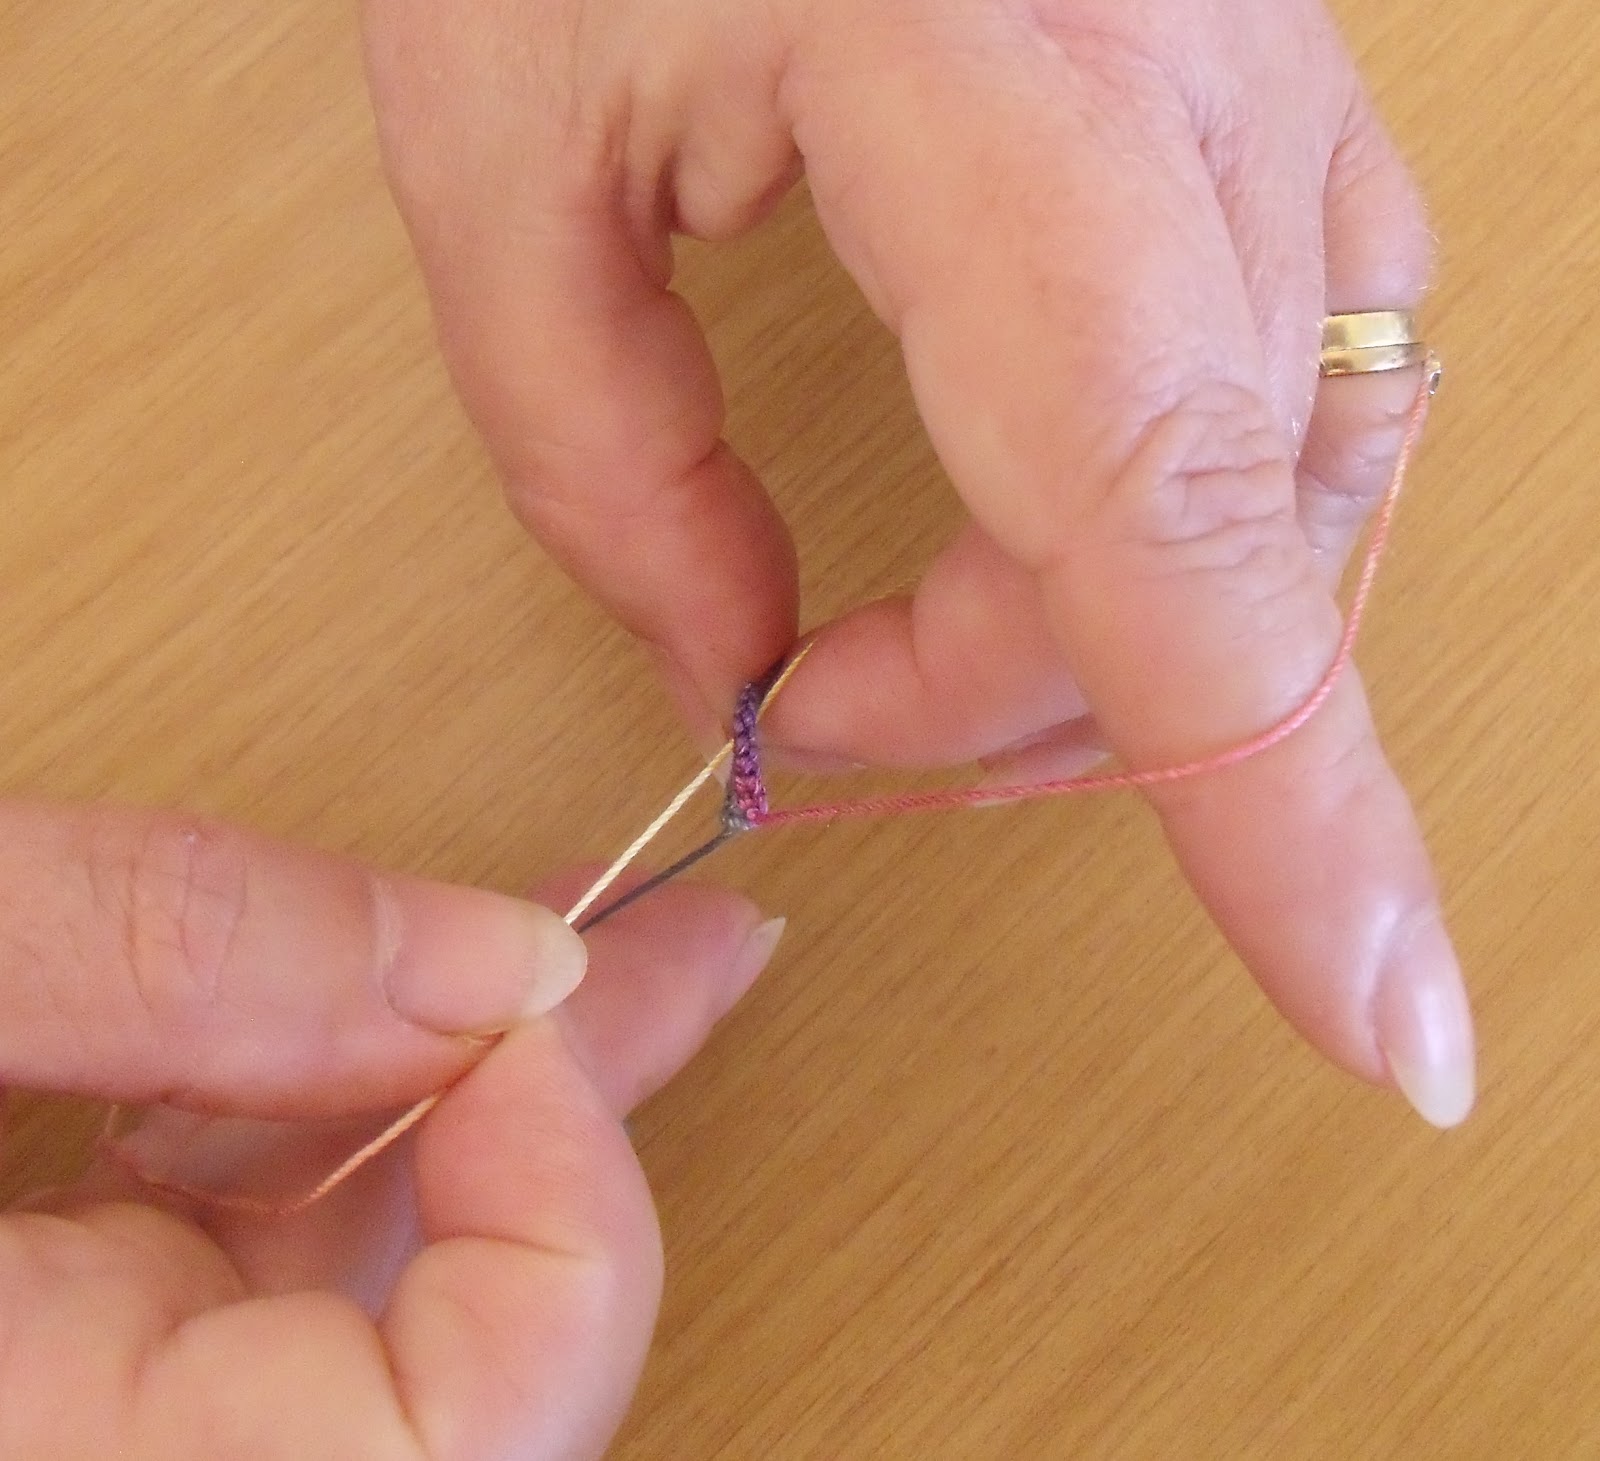

Take the shuttle thread behind the thread over the hand to make the next ring. It should look this the picture above, not like the picture below.


Tat the same number of ds as before and pass the shuttle up through the ring before closing. Continue in this way to create a line of interlocking rings.

Thanks for the Tute. Makes it easier to visualize.
ReplyDeleteThis is an amazing technique and tutorial. Thanks so much for sharing it!
ReplyDeleteIt took me such a long time to grasp, I hope this will help someone else get to it more quickly!
Delete